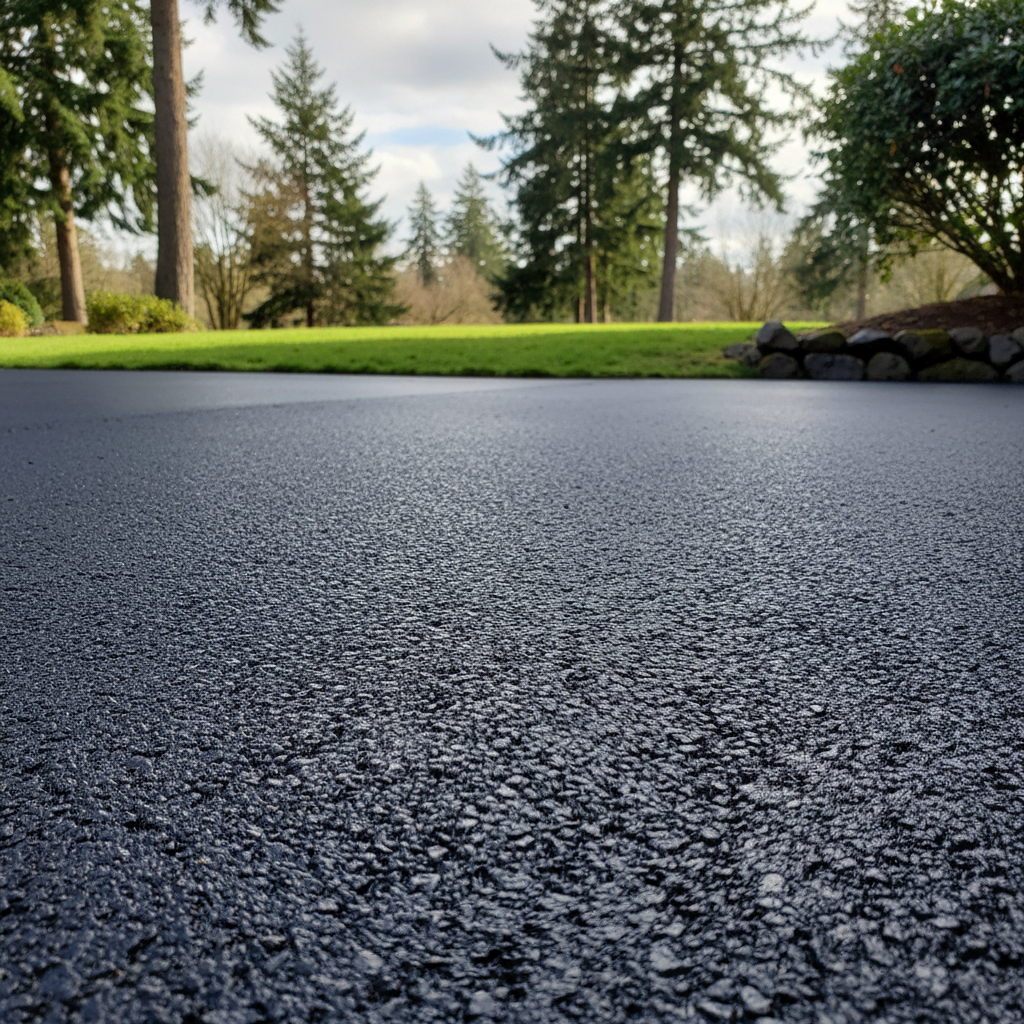
Commercial Asphalt on Your Property? Let's Talk.
You might be thinking, "Commercial asphalt? I'm a homeowner, not a business." And you'd be mostly right. But sometimes, a residential property really does need a driveway or parking area built tough, to commercial standards. Maybe you've got a long, shared access road, or a big RV pad, or even a home business with clients constantly coming and going. Whatever the reason, if you're looking at something bigger or tougher than your average residential driveway, you're stepping into commercial-grade territory. That's a whole different ballgame. It's not just about throwing down some black stuff; it's about durability, good drainage, and getting it right the first time.
Before You Even Think About Paving
First things first: planning. This isn't a weekend warrior project, believe me. You need to really understand what you're trying to achieve. Are you just repaving an existing area, or are you creating something new from scratch? The scope of work dictates everything.
- Define Your Needs: How much traffic will it actually see? Heavy trucks? Just cars? This impacts the asphalt's thickness and what kind of base material you'll need.
- Drainage is King: Seattle gets its fair share of rain, doesn't it? Think about those long, gray winters. Proper drainage isn't just a nice-to-have; it's absolutely critical. You definitely don't want standing water or, worse, water pooling right up against your foundation. This means thinking about slopes, catch basins, and where all that water will go. Unless you're a civil engineer, this usually isn't a DIY job.
- Permits: For bigger projects, especially if you're changing the grade or affecting stormwater runoff, you'll probably need permits from the City of Seattle or King County. Don't skip this step. Dealing with fines and having to redo work later is a huge headache.
- Subgrade Evaluation: This is the dirt underneath, the real foundation of your entire project. If your subgrade isn't stable, your asphalt won't last, simple as that. Here in Seattle, with our varied soil types – everything from sandy loam to heavy clay, especially in places like Beacon Hill – you just can't assume it's good. A professional will often do a soil test to figure out if you need to stabilize it, add more aggregate, or even use geotextile fabric. This is definitely a "call a pro" step.
During the Project: What to Watch For
Once you've got your plans and permits, the real work starts. If you're tackling smaller repairs, you might consider some DIY, but for a full commercial-grade installation, you'll almost certainly be working with a contractor like us at Coastal Paving Solutions.
- Excavation and Base Prep: This is where the magic happens, or fails. The old material needs to go, and the subgrade has to be properly prepared. Then, a strong aggregate base (that's crushed rock) is laid down, usually in layers, and compacted thoroughly. Compaction is absolutely key. If the base isn't dense and stable, you'll get cracks and potholes way too fast. You can rent compactors for small areas, but for large projects, you'll need heavy-duty equipment and experienced operators.
- Asphalt Layering: Commercial projects typically use multiple layers of asphalt. A binder course (which has coarser aggregate) goes down first, followed by a finer wearing course on top. The thickness of each layer depends on how much traffic you expect. Make sure your contractor isn't cutting corners on thickness.
- Proper Compaction of Asphalt: Just like the base, the asphalt itself needs to be compacted while it's hot. This makes sure it's dense and strong. You'll see those large rollers doing this.
- Drainage Installation: If you planned for catch basins or French drains, they need to be put in correctly during this phase.
What can you DIY? For a full commercial-grade installation, honestly, not much beyond clearing the site or maybe doing some initial rough grading if you're comfortable with heavy machinery. The precision, equipment, and expertise needed for proper base and asphalt installation are pretty significant. For smaller, specific repairs, like patching a pothole? Sure, you can get a cold patch mix, but that's not "commercial asphalt."
After the Paving: Maintenance is Key
Once your new asphalt is down, don't just forget about it. Proper maintenance will make it last a lot longer. This is where you, the homeowner, can really make a difference.
- Curing Time: Give it time to cure. Your contractor will tell you how long, but typically, you'll want to stay off it for a few days, and avoid heavy vehicles for a week or more.
- Sealcoating: This is basically your asphalt's sunscreen and raincoat. About 6-12 months after installation, and then every 2-3 years, you should apply a quality sealcoat. It protects against UV rays, water getting in, and chemicals. This is a DIY job for smaller driveways if you're really meticulous, but for a large commercial-grade area, it's a big undertaking and often best left to pros.
- Crack Sealing: As soon as you see cracks, seal them. Water is asphalt's worst enemy. It seeps into cracks, freezes, expands, and turns tiny cracks into big potholes. You can buy crack filler at any hardware store and apply it yourself.
- Keep it Clean: Sweep away dirt, leaves, and debris. Don't let oil or gas spills sit; clean them up promptly.
- Drainage Check: Regularly check your catch basins and drains to make sure they're clear of debris. This is especially important during our rainy season.
Having a commercial-grade asphalt surface on your property is a big investment, but it pays off in durability and longevity if you do it right. Don't be afraid to ask questions, understand the process, and know when it's time to bring in the experts for the heavy lifting. We've seen a lot of projects around Seattle, and the ones that last are always the ones that started with solid planning and professional execution.